 Renowned web-designer and open source user “Mr. DEVESH KUMAR” (alias DK) has contributed to world by giving “10-STEP MANUAL for starters”…it can be generalized for all LINUX flavours.
1) Insert the CD in your CD/DVD drive.
(make sure your system is configured as ‘boot from CD/DVD’ in Bios setup)
2) ?boot:/? will appear on screen. Just hit enter.
(let Anaconda do his work for a while)
Note: anaconda is one of the installer for Linux flavors.
3) Choose normal options such as language, country, time etc as your choice on the screens.
4) Configure your boot loader (choose one Grub or LILO) and default boot partition
i.e. Linux or other.
 5) Now hopefully you will reach on partition menu screen
( It’s a very important step for a successful Linux installation??. So, do it carefully)
a) choose custom or manually partition option on the screen.
b) make a free space as you or your hard disk afford.
c) now create a ROOT partition i.e. mount point=?/? space = 3gb or more
d) another partition SWAP i.e. mount point = swap space = _____ ( this valve should be more than twice your RAM, i.e. if you have a RAM of 256, this the valve >512).
Note: SWAP partition is not always needed but in fact it should be.
6) At this juncture, half of your task is over.
Now choose your root password and login
name (root password should be easy to remember otherwise Linux become Hell)
 7) At this step you will find a package selection menu
a) choose ‘minimal’ or ‘default’ option on the screen
(it will only minimum package required to run Linux and take least time(10-15 min) to install)
b) Choose ‘select all’ option
( it will install all packages selected by you but take more time ( 40-60 min) to install).
 8) Just wait…and enjoying the merry TUX
(the animal you see in the surrounding pictures is actually the LINUX mascot...TUX).
9) Another important step for your system configuration. Here you should check your
system drivers specially Graphics and Sound Cards, otherwise it will goes in text mode
after Rebooting.
10) Take out your disk from drive and Reboot your system.
 11) Once your computer restarts, you see ‘GRUB loading’.
Press any key to access menu of different OS on your computer.
Once the starting process ends…open up your newly loaded LINUX OS (again a reminder DO REMEMBER YOUR USERNAME and PASSWORD”…and once you log in
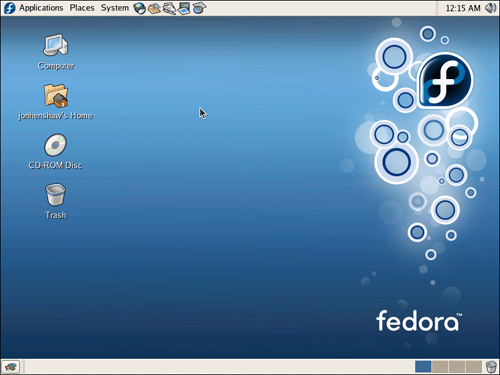
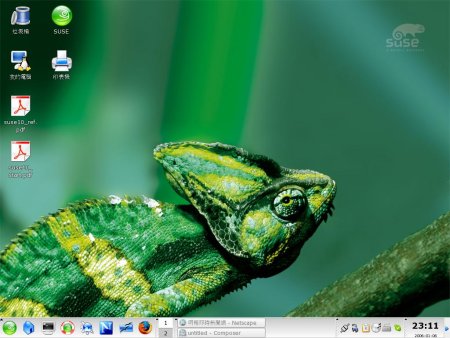
enjoy the cool desktops!!
UBUNTU desktop.

FEDORA desktop.
MANDRIVA desktop.

SUSE desktop.

Remember LINUX is free!! and may the 'SOURCE' be with u
Note: if you feel some problems during installation just mail Mr. Devesh Kumar at dost4frnd@yahoo.com or post your doubts here!!


5 comments:
nice info, keep postin dude!!
Its MANDRIVA, not maniva as mentiond in d photo
hey man really nice way to install linux then reading those manuals
hehe great man!
da pictures are fabulous /)
nice post. thanks...
Post a Comment